honda S2000 - Spoon Sport S-Tai Bumper
Author: Kai Her - Nov. 9th, 2023
When an S2000 owner is ready to come to the darkside of ridding themselves of a “timeless” OEM+ look and transition to something different and wild, there are various bumpers to choose from (i.e. Voltex Racing, J’s Racing, ASM, Amuse, Mugen, Spoon Sport, etc.) that can accomplish just that. The options are almost limitless and it can prove to be a tough decision to make when each of the Japanese aftermarket bumpers for the S2000 just looks stunning and unique in its own design.
For me, when I have saved enough funds on the side to find an aero bumper for my S2000, it was a difficult decision to make between getting a Voltex Racing bumper or a Spoon Sport S-Tai bumper. In the end, I settled down for a Spoon Sport S-Tai because of the optional fog light kit that comes along with the bumper.
Upon acquiring the bumper via UPS from a seller in the mid-east, I was informed the bumper was previously on a wide-body S2000. Therefore, the bumper tabs and sides have been enlarged to accommodate the wide finders on the prior wide-bodied S2000. The fitment of the bumper on my S2000 was poor. The gaps around the headlights were not symmetrical and for some reason, I was not able to align the bumper tabs accurately to meet my fenders. Since I had no experience with body work nor paint, I took the bumper and the S2000 to a local auto body shop and informed the painter about the issues and complexities that the bumper served. He understood his task well and after countless repairs, repaints, and getting a final restoration from Rich’s Restoration, the bumper finally looks like it’s meant to be in the front end of a S2000.
Let’s take a dive and get an “Xplicit” review on the bumper as I reveal my honest thoughts about it!
Here is a frontal view of the bumper head on. The bumper is made from fiberglass. I kid you not, the bumper has seen its better days. Driving up and down California, the bumper have maintain its shape extremely well though. The bumper has a middle grille (not pictured here) that is optional with the purchase. However, since my bumper was purchased in a used condition, I never had the optional metal grille, but I personally like the bumper without it anyway. The middle grille piece makes the middle look like a BBQ grill and I can only imagine how much bugs it will collect on a drive traveling on the freeway up and down California.
Another view from an angle. You can really capture the aero lines up front and then travelling to each sides of the bumper. The two extra grilles on each bottom ends of the bumper provides more aero dynamic purposes.
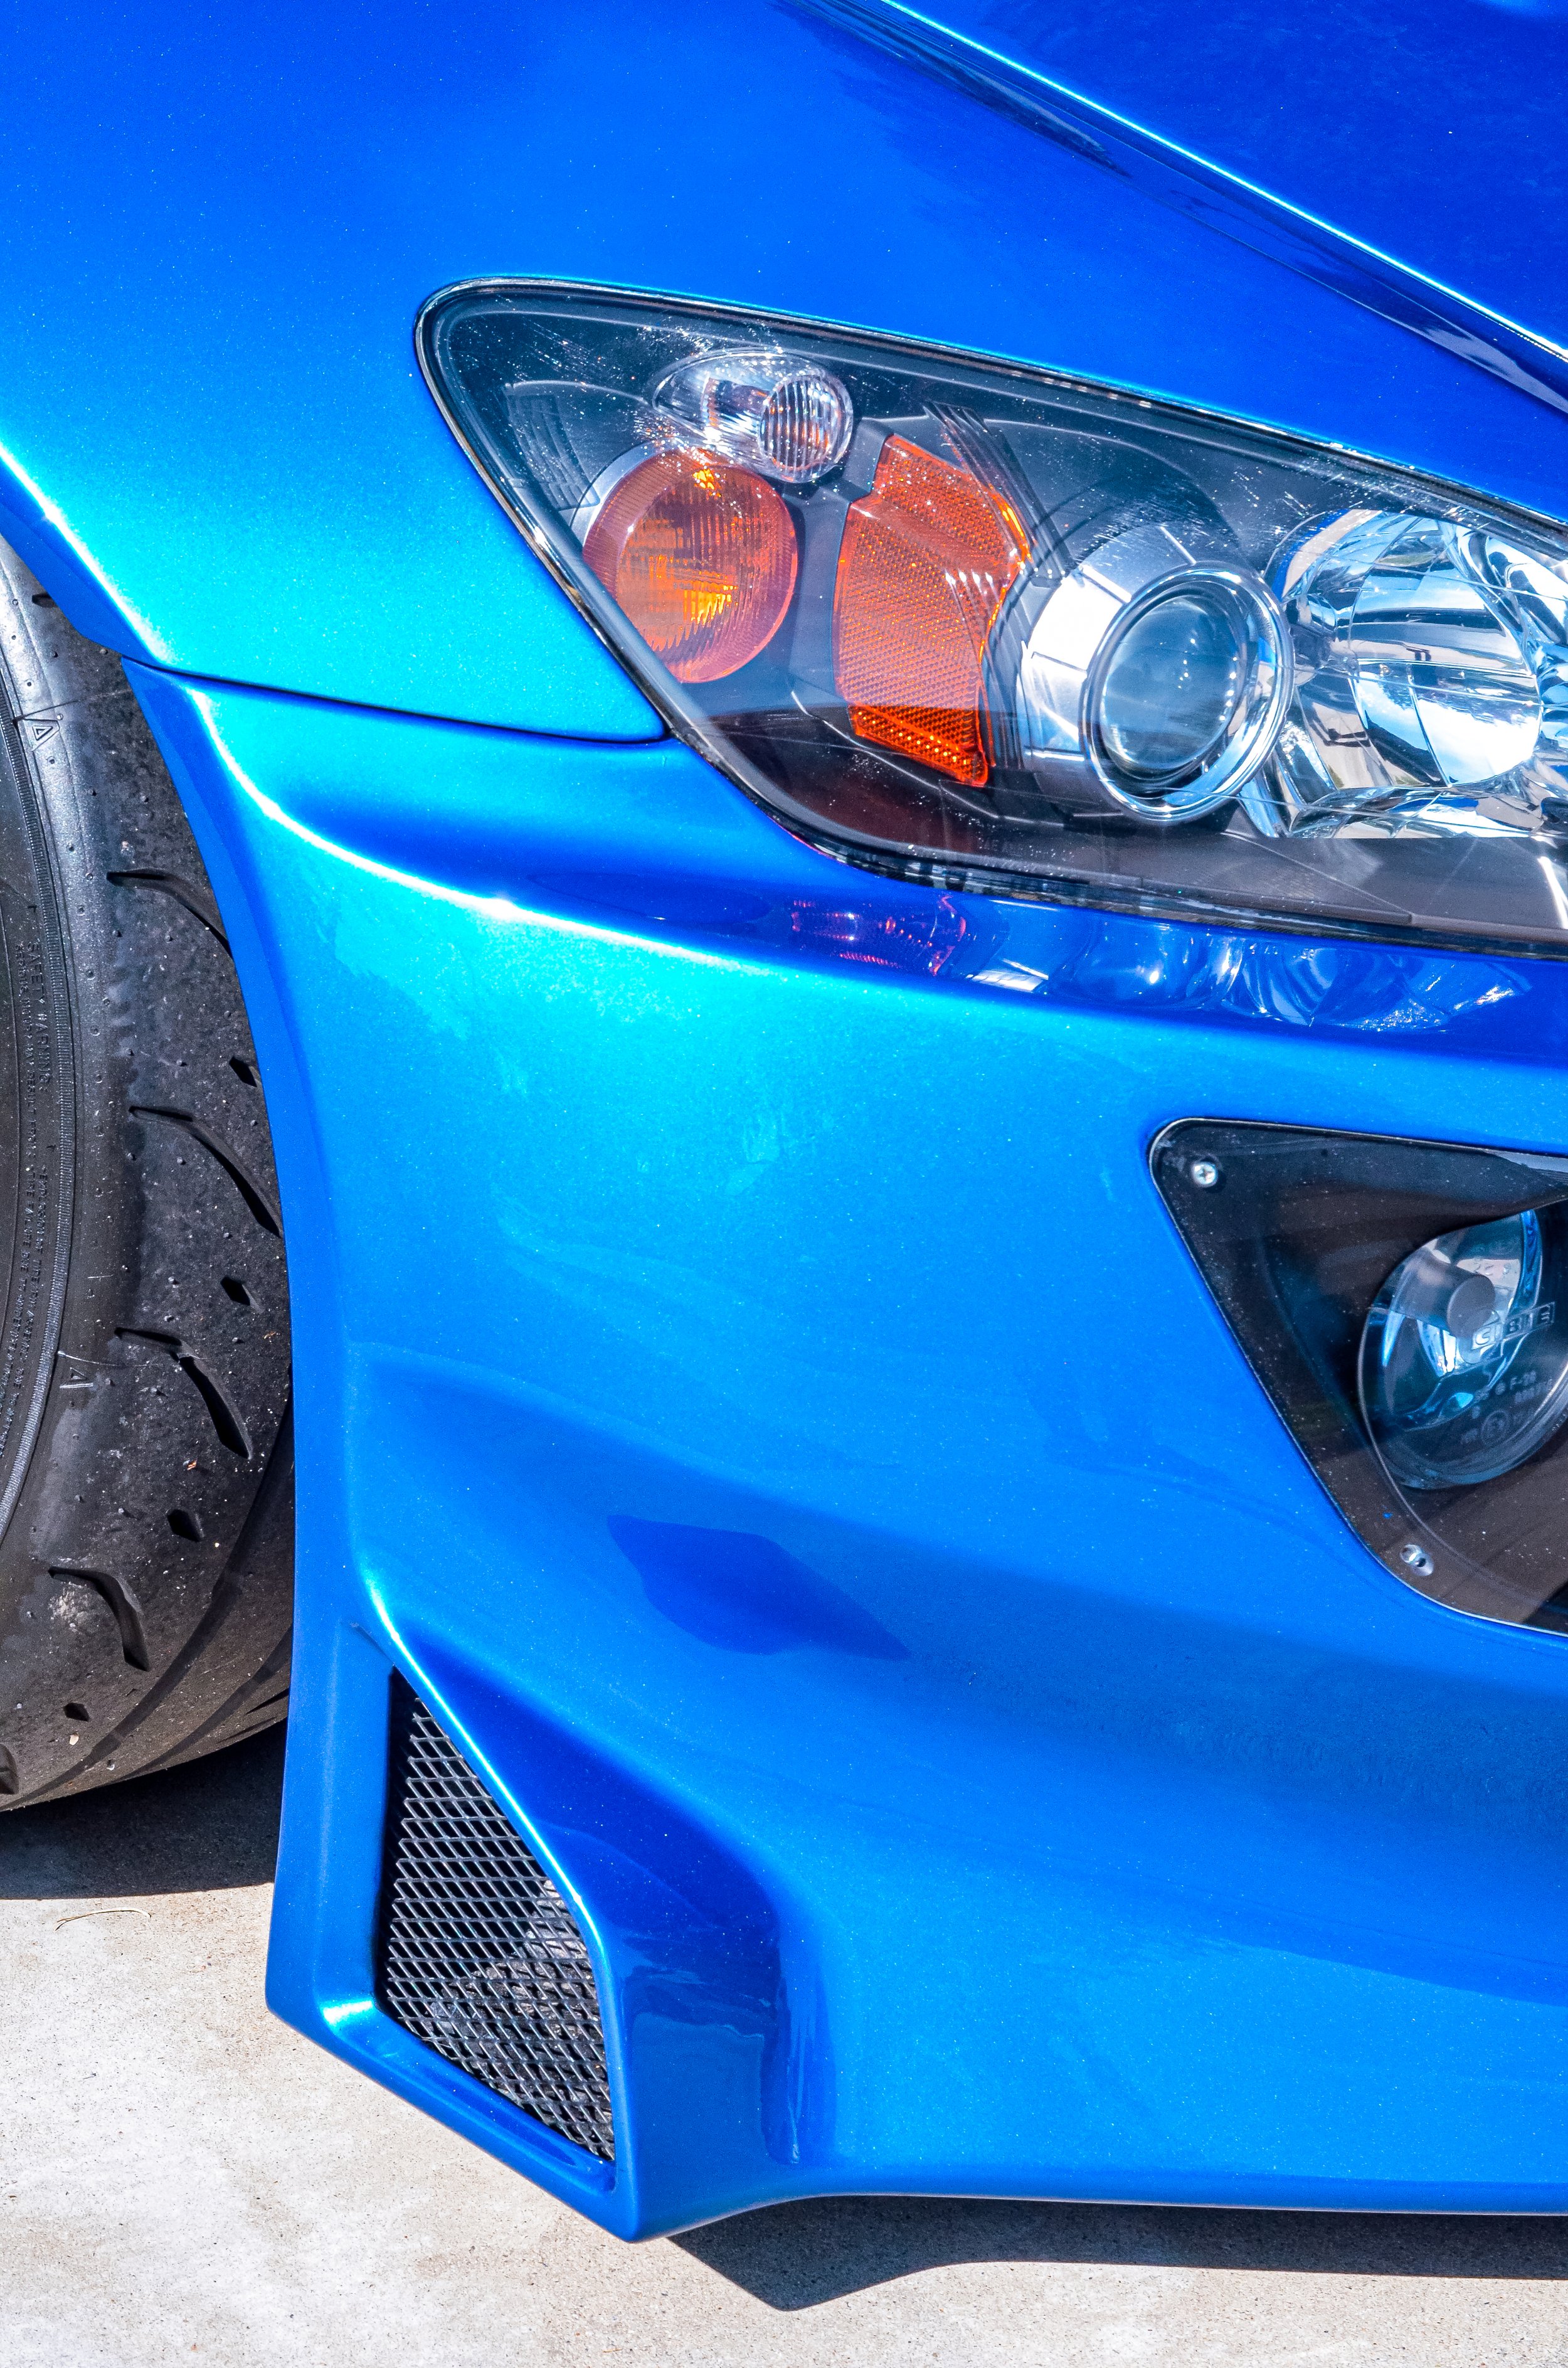
Here is a close up view of the extra grille on one side of the bumper. If I have to choose my favorite aspect about this bumper, it’ll have to be this particular section of the bumper. The body lines transition tremendously smooth from the front of the bumper to the fine edges on sides of the bumper AND the black grille just adds an extra flare to the bumper! Not to mention, the contour lines explicitly demonstrates how aggressive the bumper is. Therefore, it’s almost a must to continue those contour lines to travel from the front of the car all the way to the rear. I advise, be mindful of getting a pair of side skirts to link up with bumper. If you want to be extra, rear valences or a diffuser will be a cherry on top!
Correct me if I am wrong, but from the 8 years of owning and getting to modify an S2000, I believe the Spoon Sport S-Tai bumper is the only aftermarket bumper that has fog lights. The fog light like any other aftermarket or factory kit, hooks up just the same. I would also like to add, the kit that came with the bumper utilizes a remote (not sure if it was provided by Spoon themselves or the seller). Unlike sacrificing a section of your dash to drill an unwanted hole, the kit is remotely controlled and with a push of a button, I can easily turn on and shut off the fog lights.
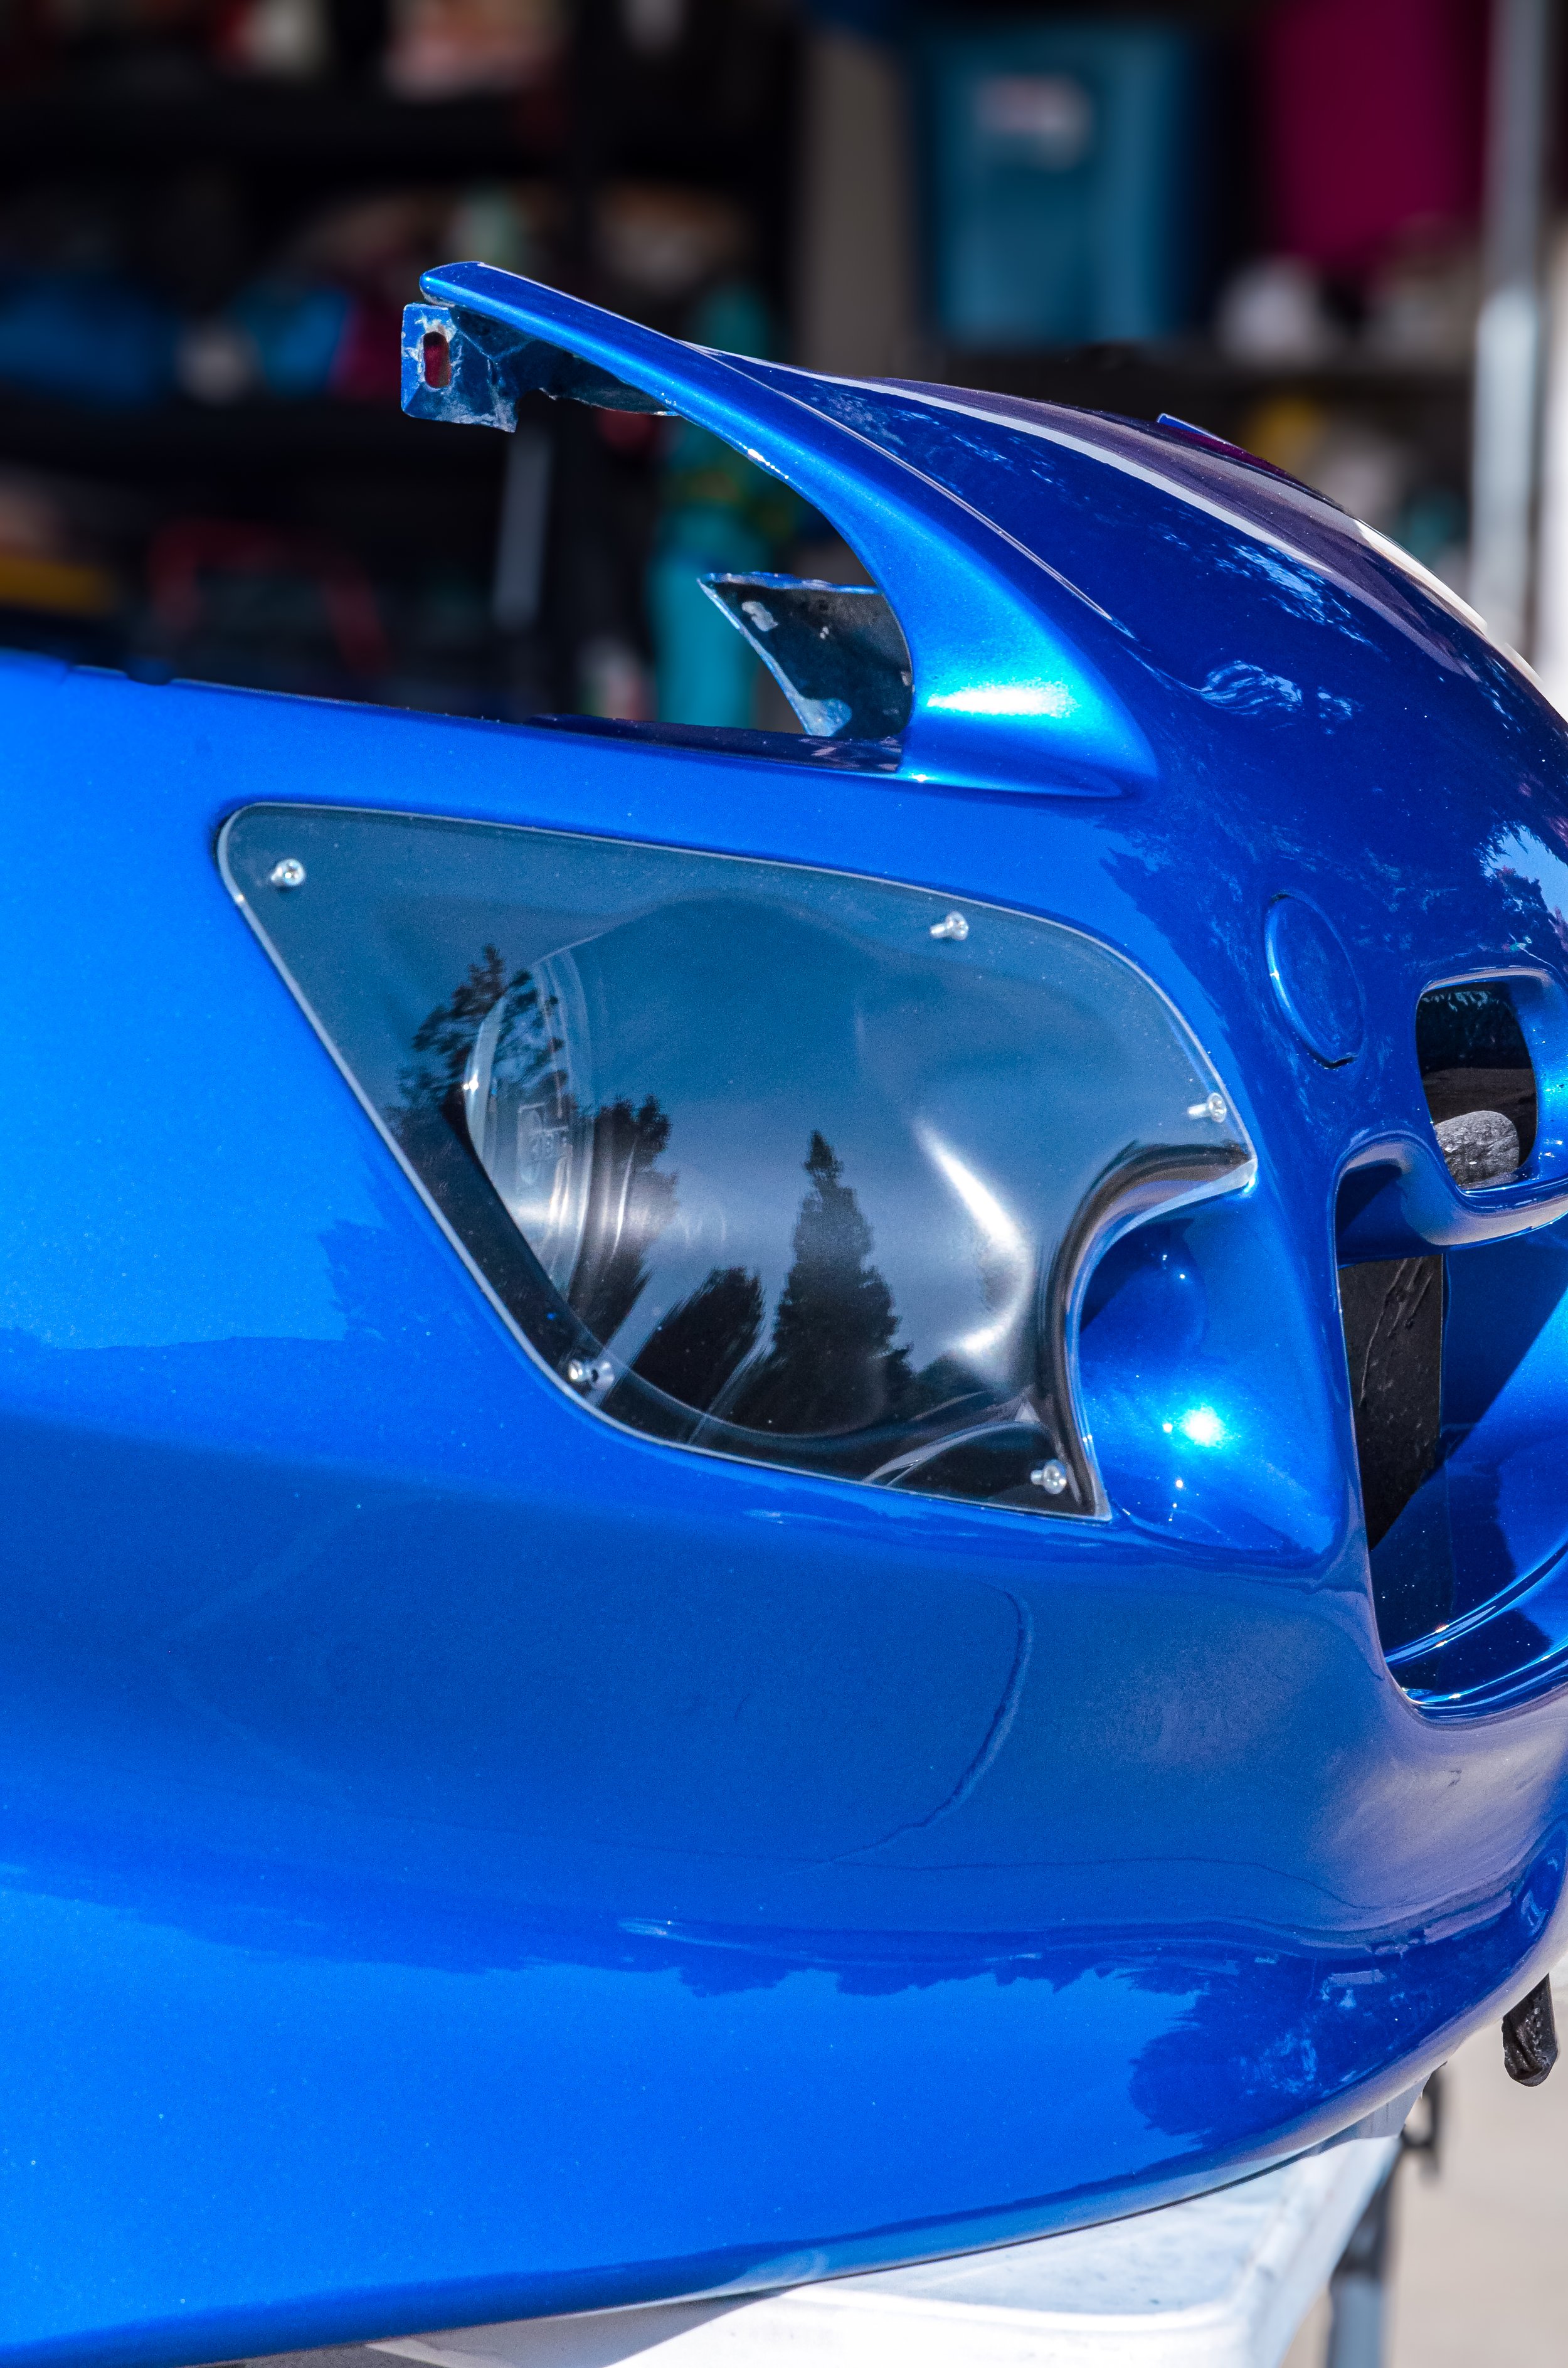
A reminder to let you know if you want to get a Spoon Sport S-Tai bumper in the future, the acrylic/plastic transparent fog light covers are extremely fragile. If you tighten the phillip screws just a tad too hard, you can easily create hair line cracks around the mounting areas. Don’t ask me how I know, but this is my 4th pair. LOL. I am currently communicating with Art of Attack for another pair because as you can see, not all the holes from the covers are matching up accurately to the bumper.
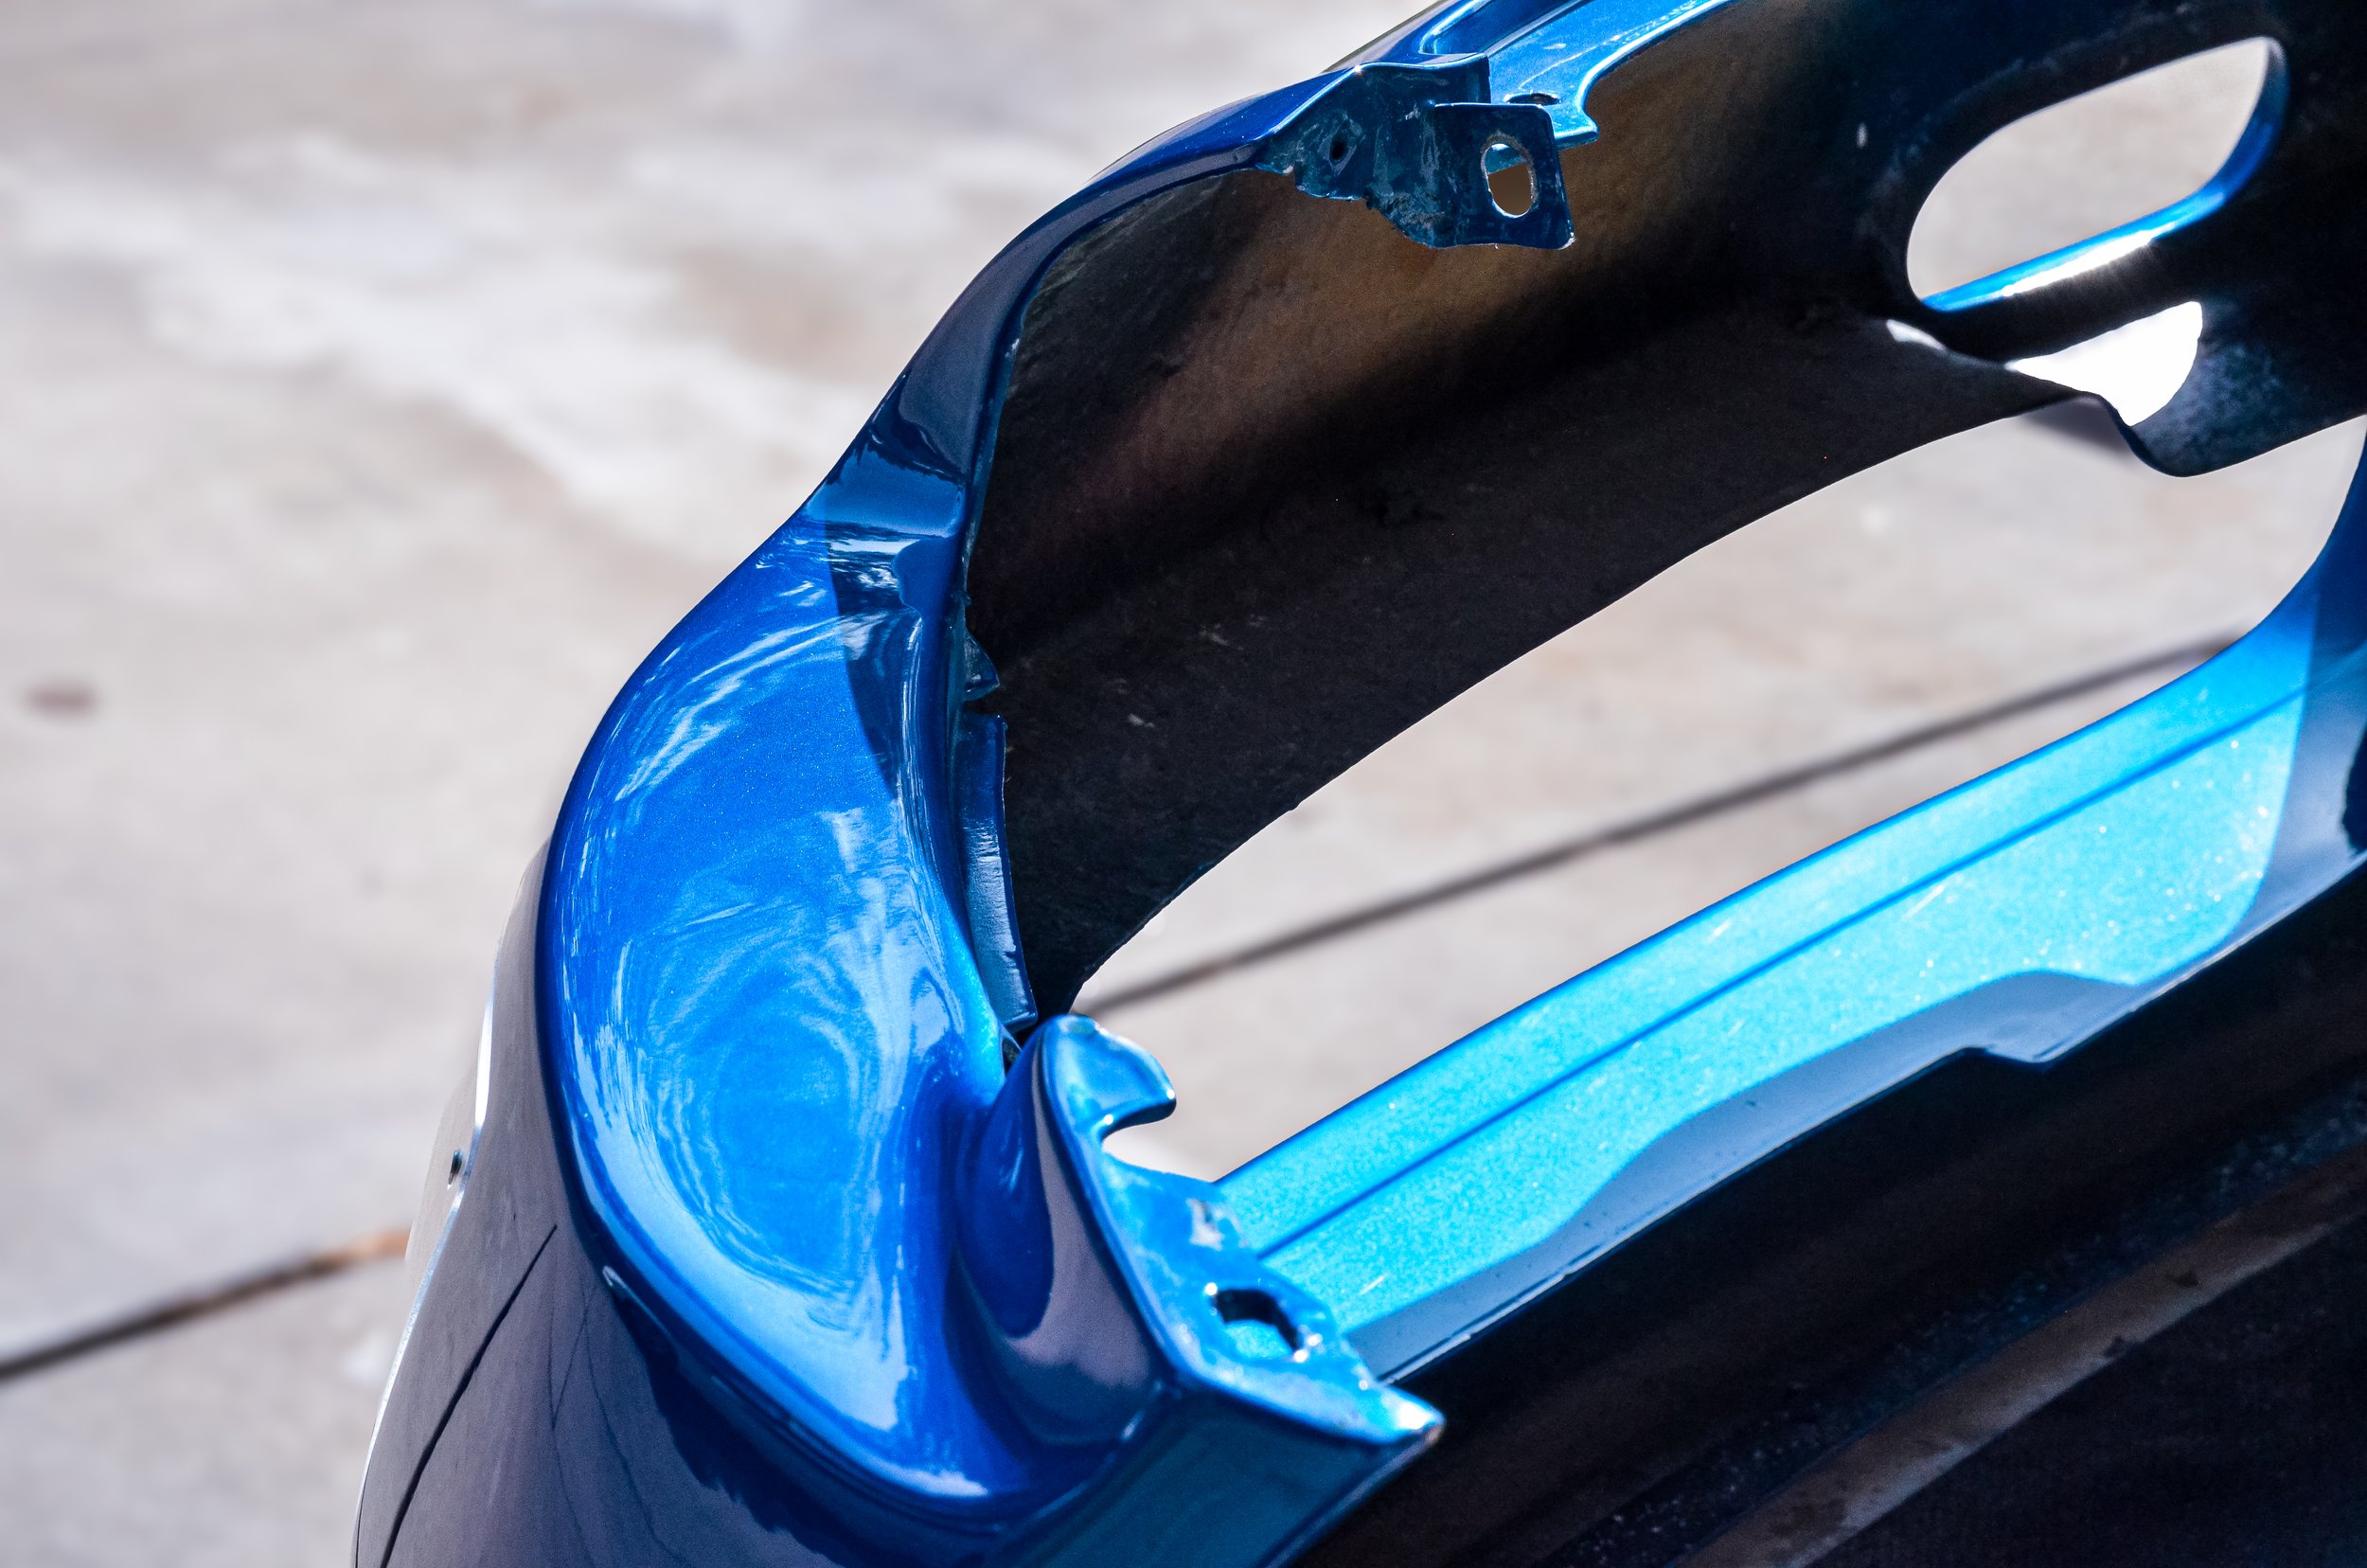
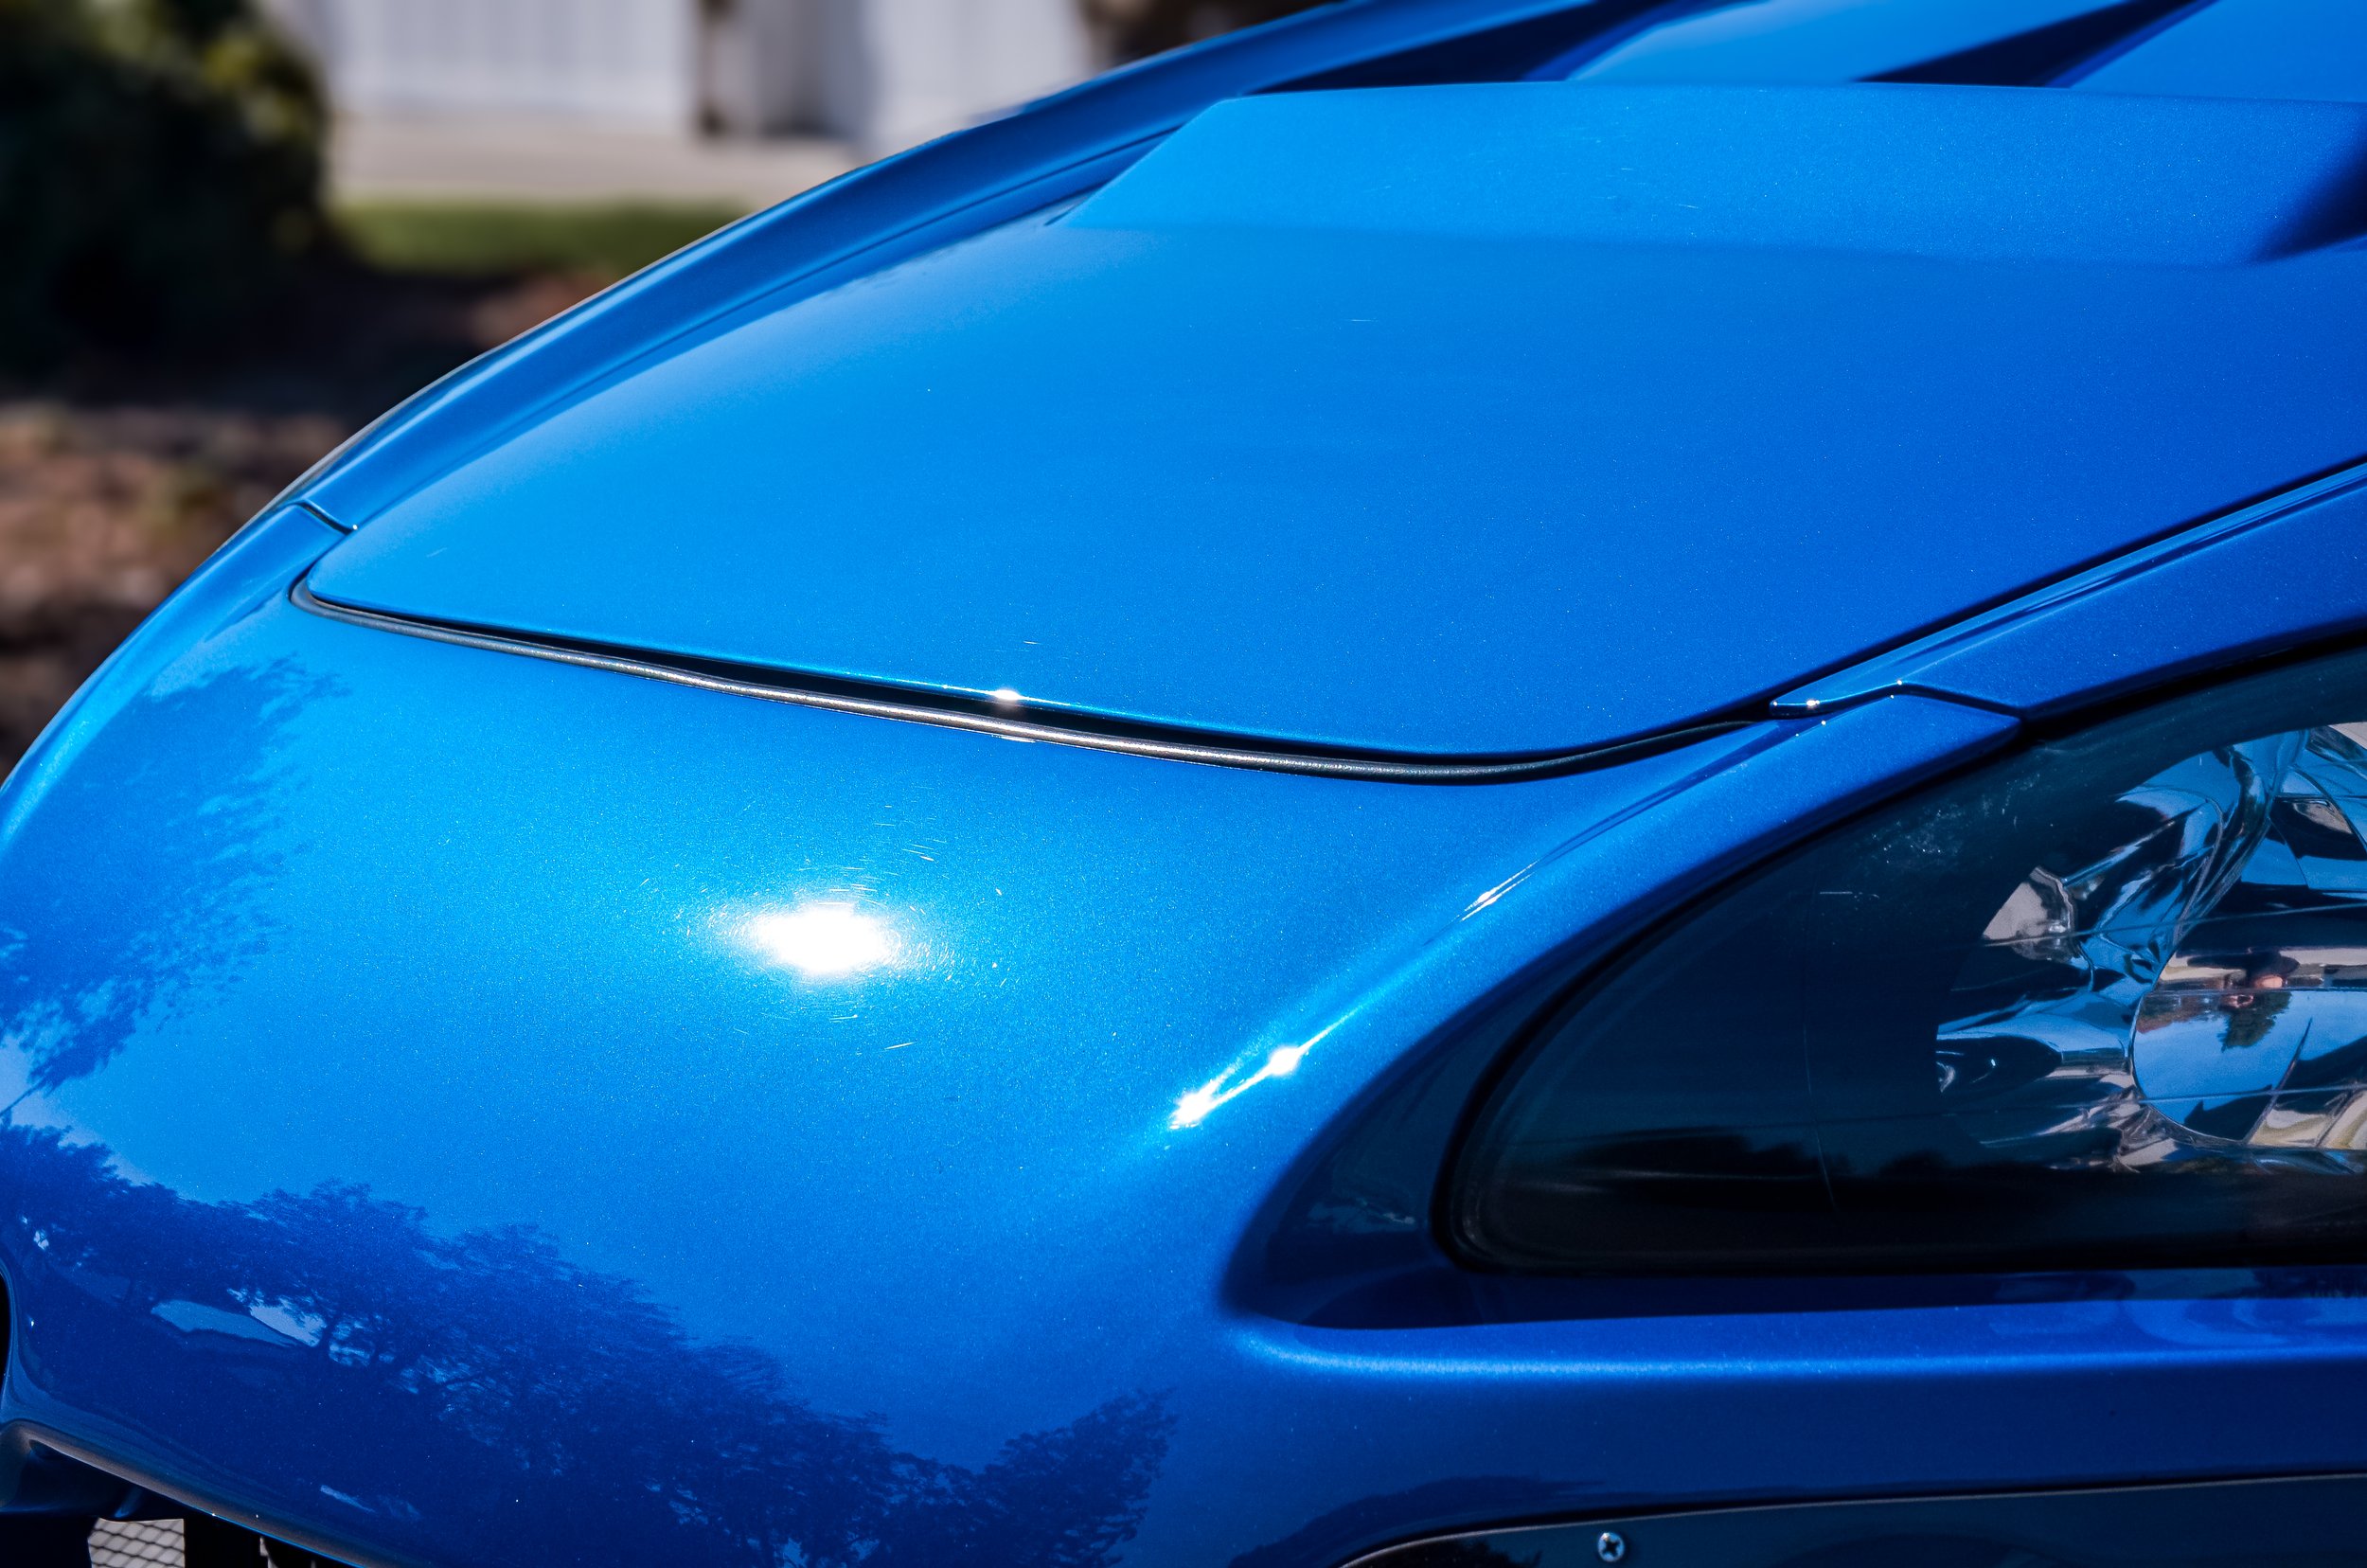
A quick glance at the bumper tabs and they do in fact line up to the fenders quite well; after multiple trips to the autobody shop, that is. Food for thought, another fragile section of the Spoon Sport S-Tai bumper will be these areas that loops right under the headlights. This is where the stress occurs most frequently upon driving! If you don’t have any custom brackets fabricated to securely hold the bumper onto the chassis in place, rather than just the bumper/fender tabs and the radiator support, there will be a lot of flex and play in these specific areas. If not diligent enough, the bumper may slide and rub against the headlight over time and can cause stress cracks in these areas. I don’t recall how many times I have to get this repaired and reinforced with more fiberglass to prevent it from transpiring again in the future. However, I do learn form my mistakes! When I mount on the bumper, my secret is to leave some breathing space in between the headlights and bumper to prevent this issue. I believe any aftermarket fiberglass will experience similar issues, so be expecting that whenever you’re ready to switch on over from an OEM to aftermarket aero look.
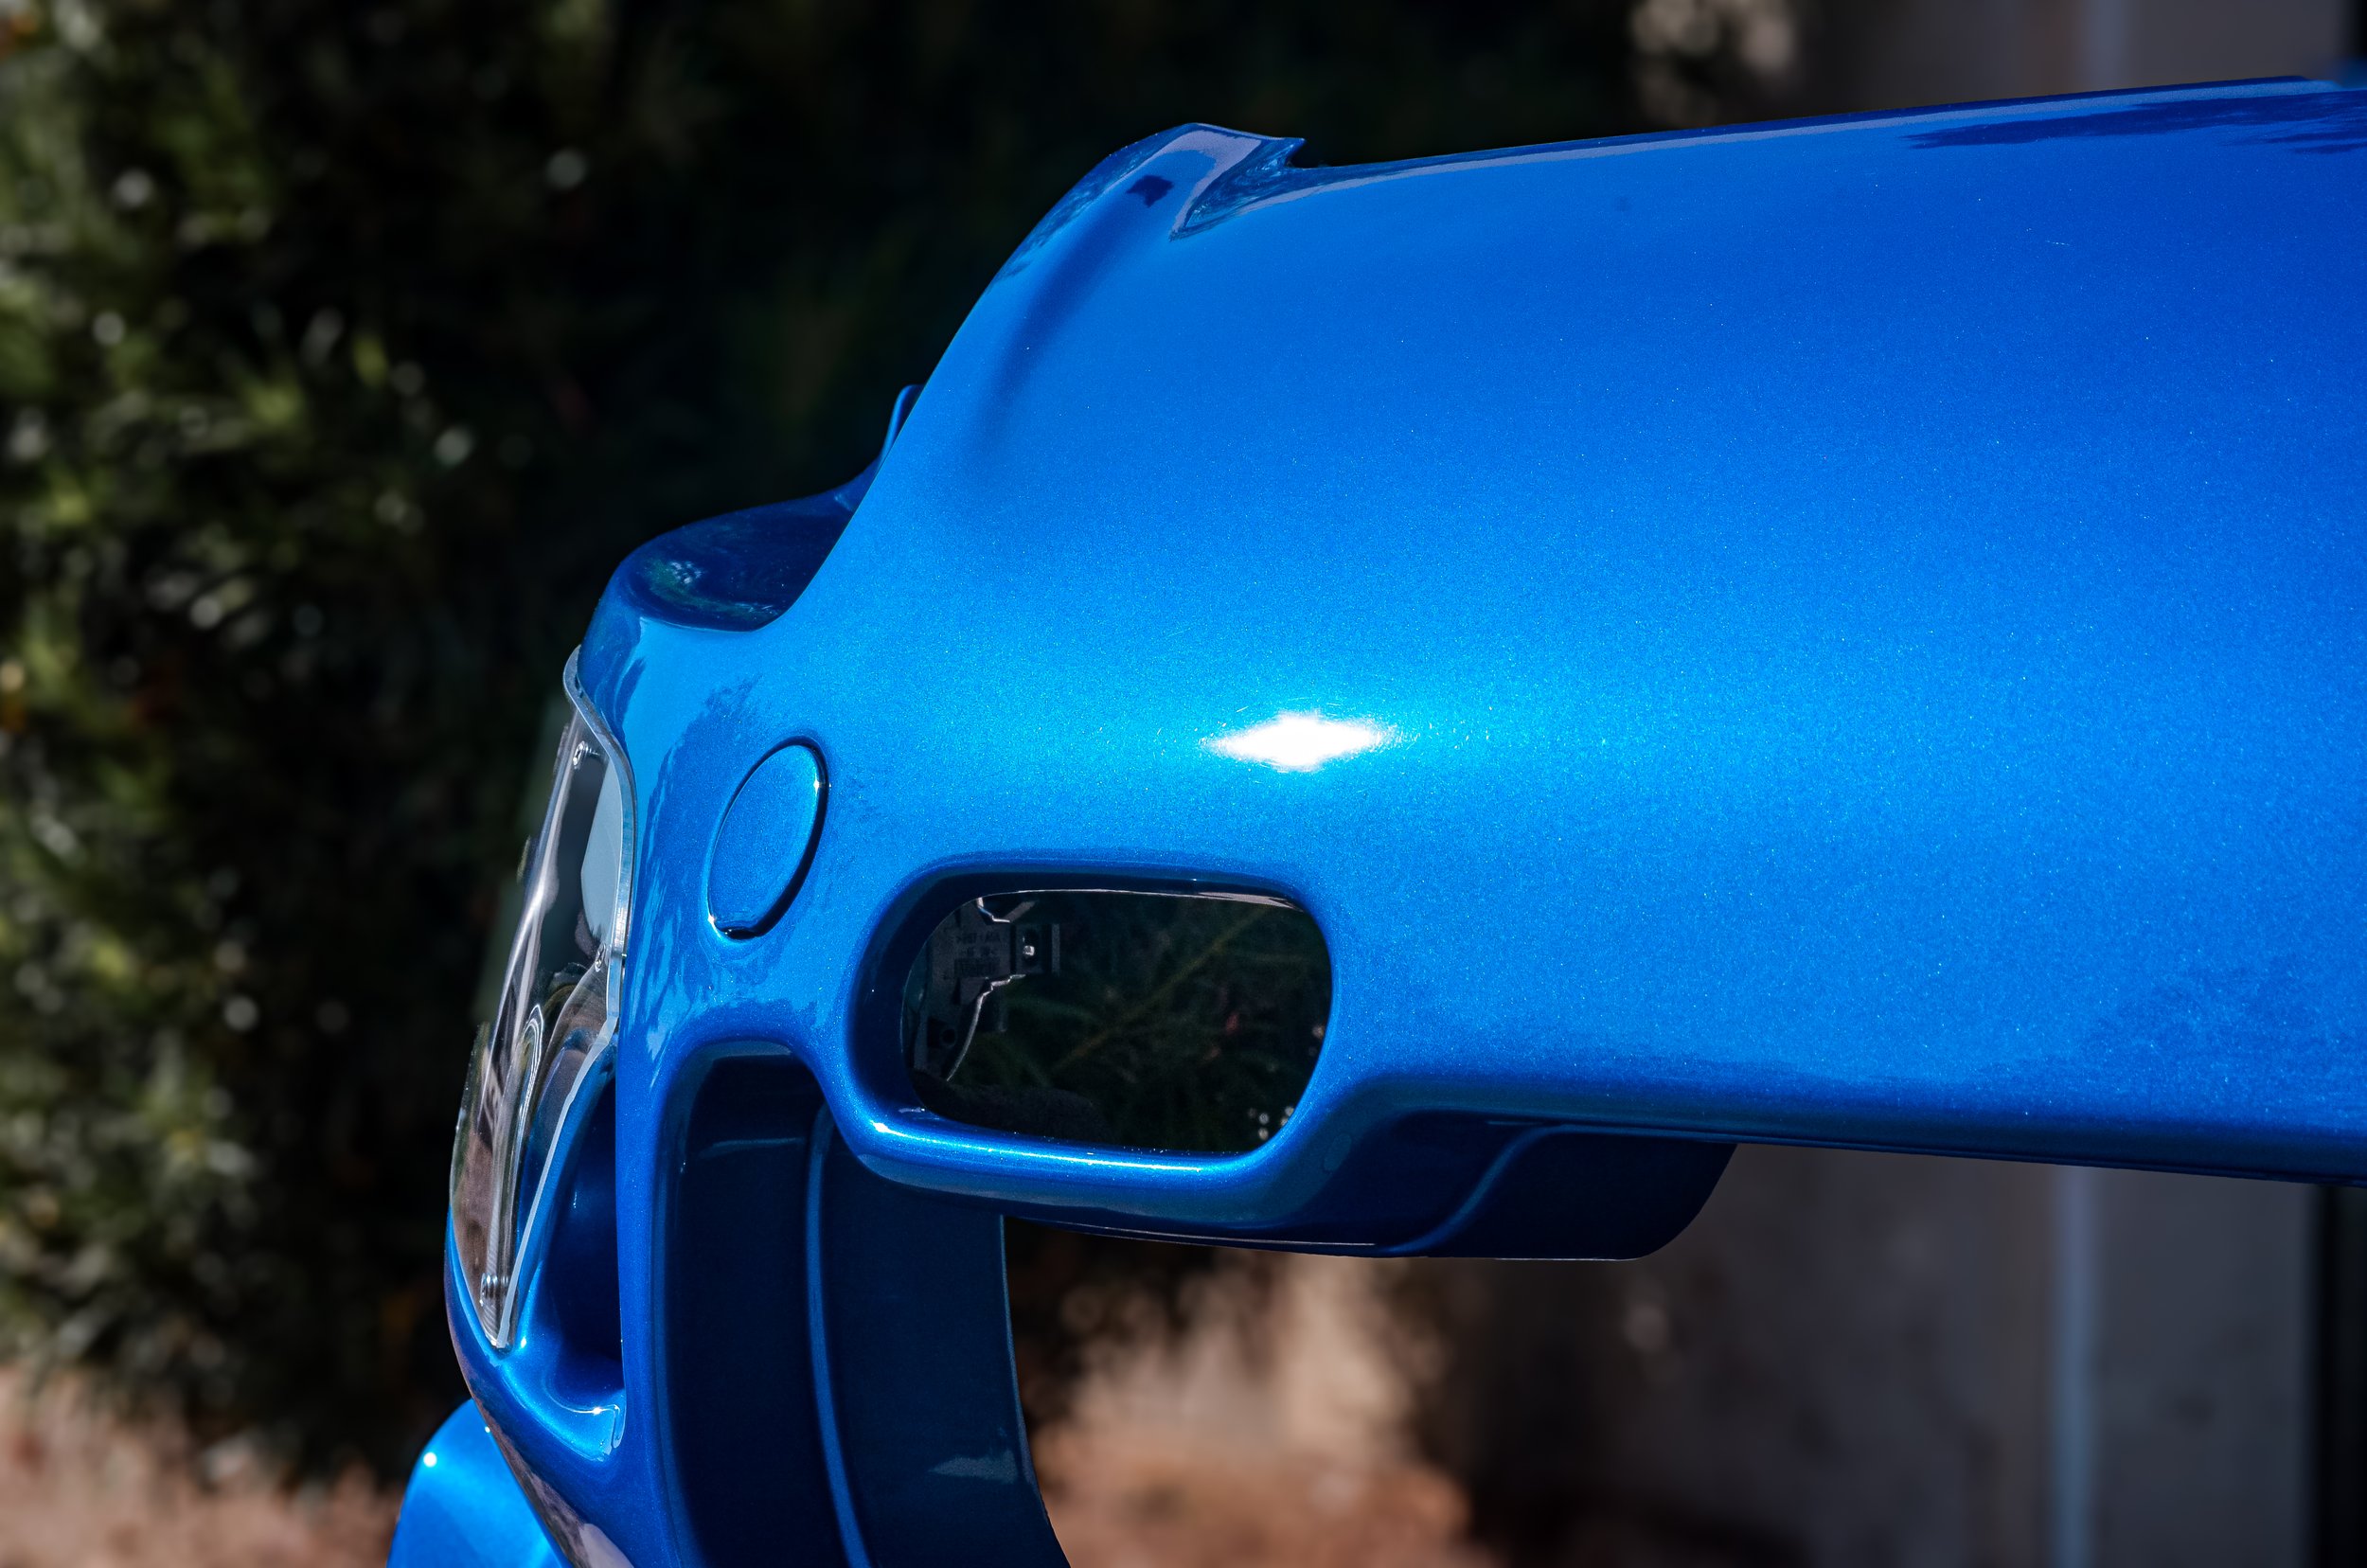
Spoon Sport dedicates and commits their appreciation to not only aesthetics, but foremost functionality. The large oval is purposely left exposed because it actually acts as an air duct that the Spoon Sport snorkel will match up to collect air when it’s attached to the stock air box. On top of that, the circular cap can be easily removed if you choose to install a tow hook. I’m not a big fan of tow hooks so that cap will almost and forever be there covering that tow hook hole for me.
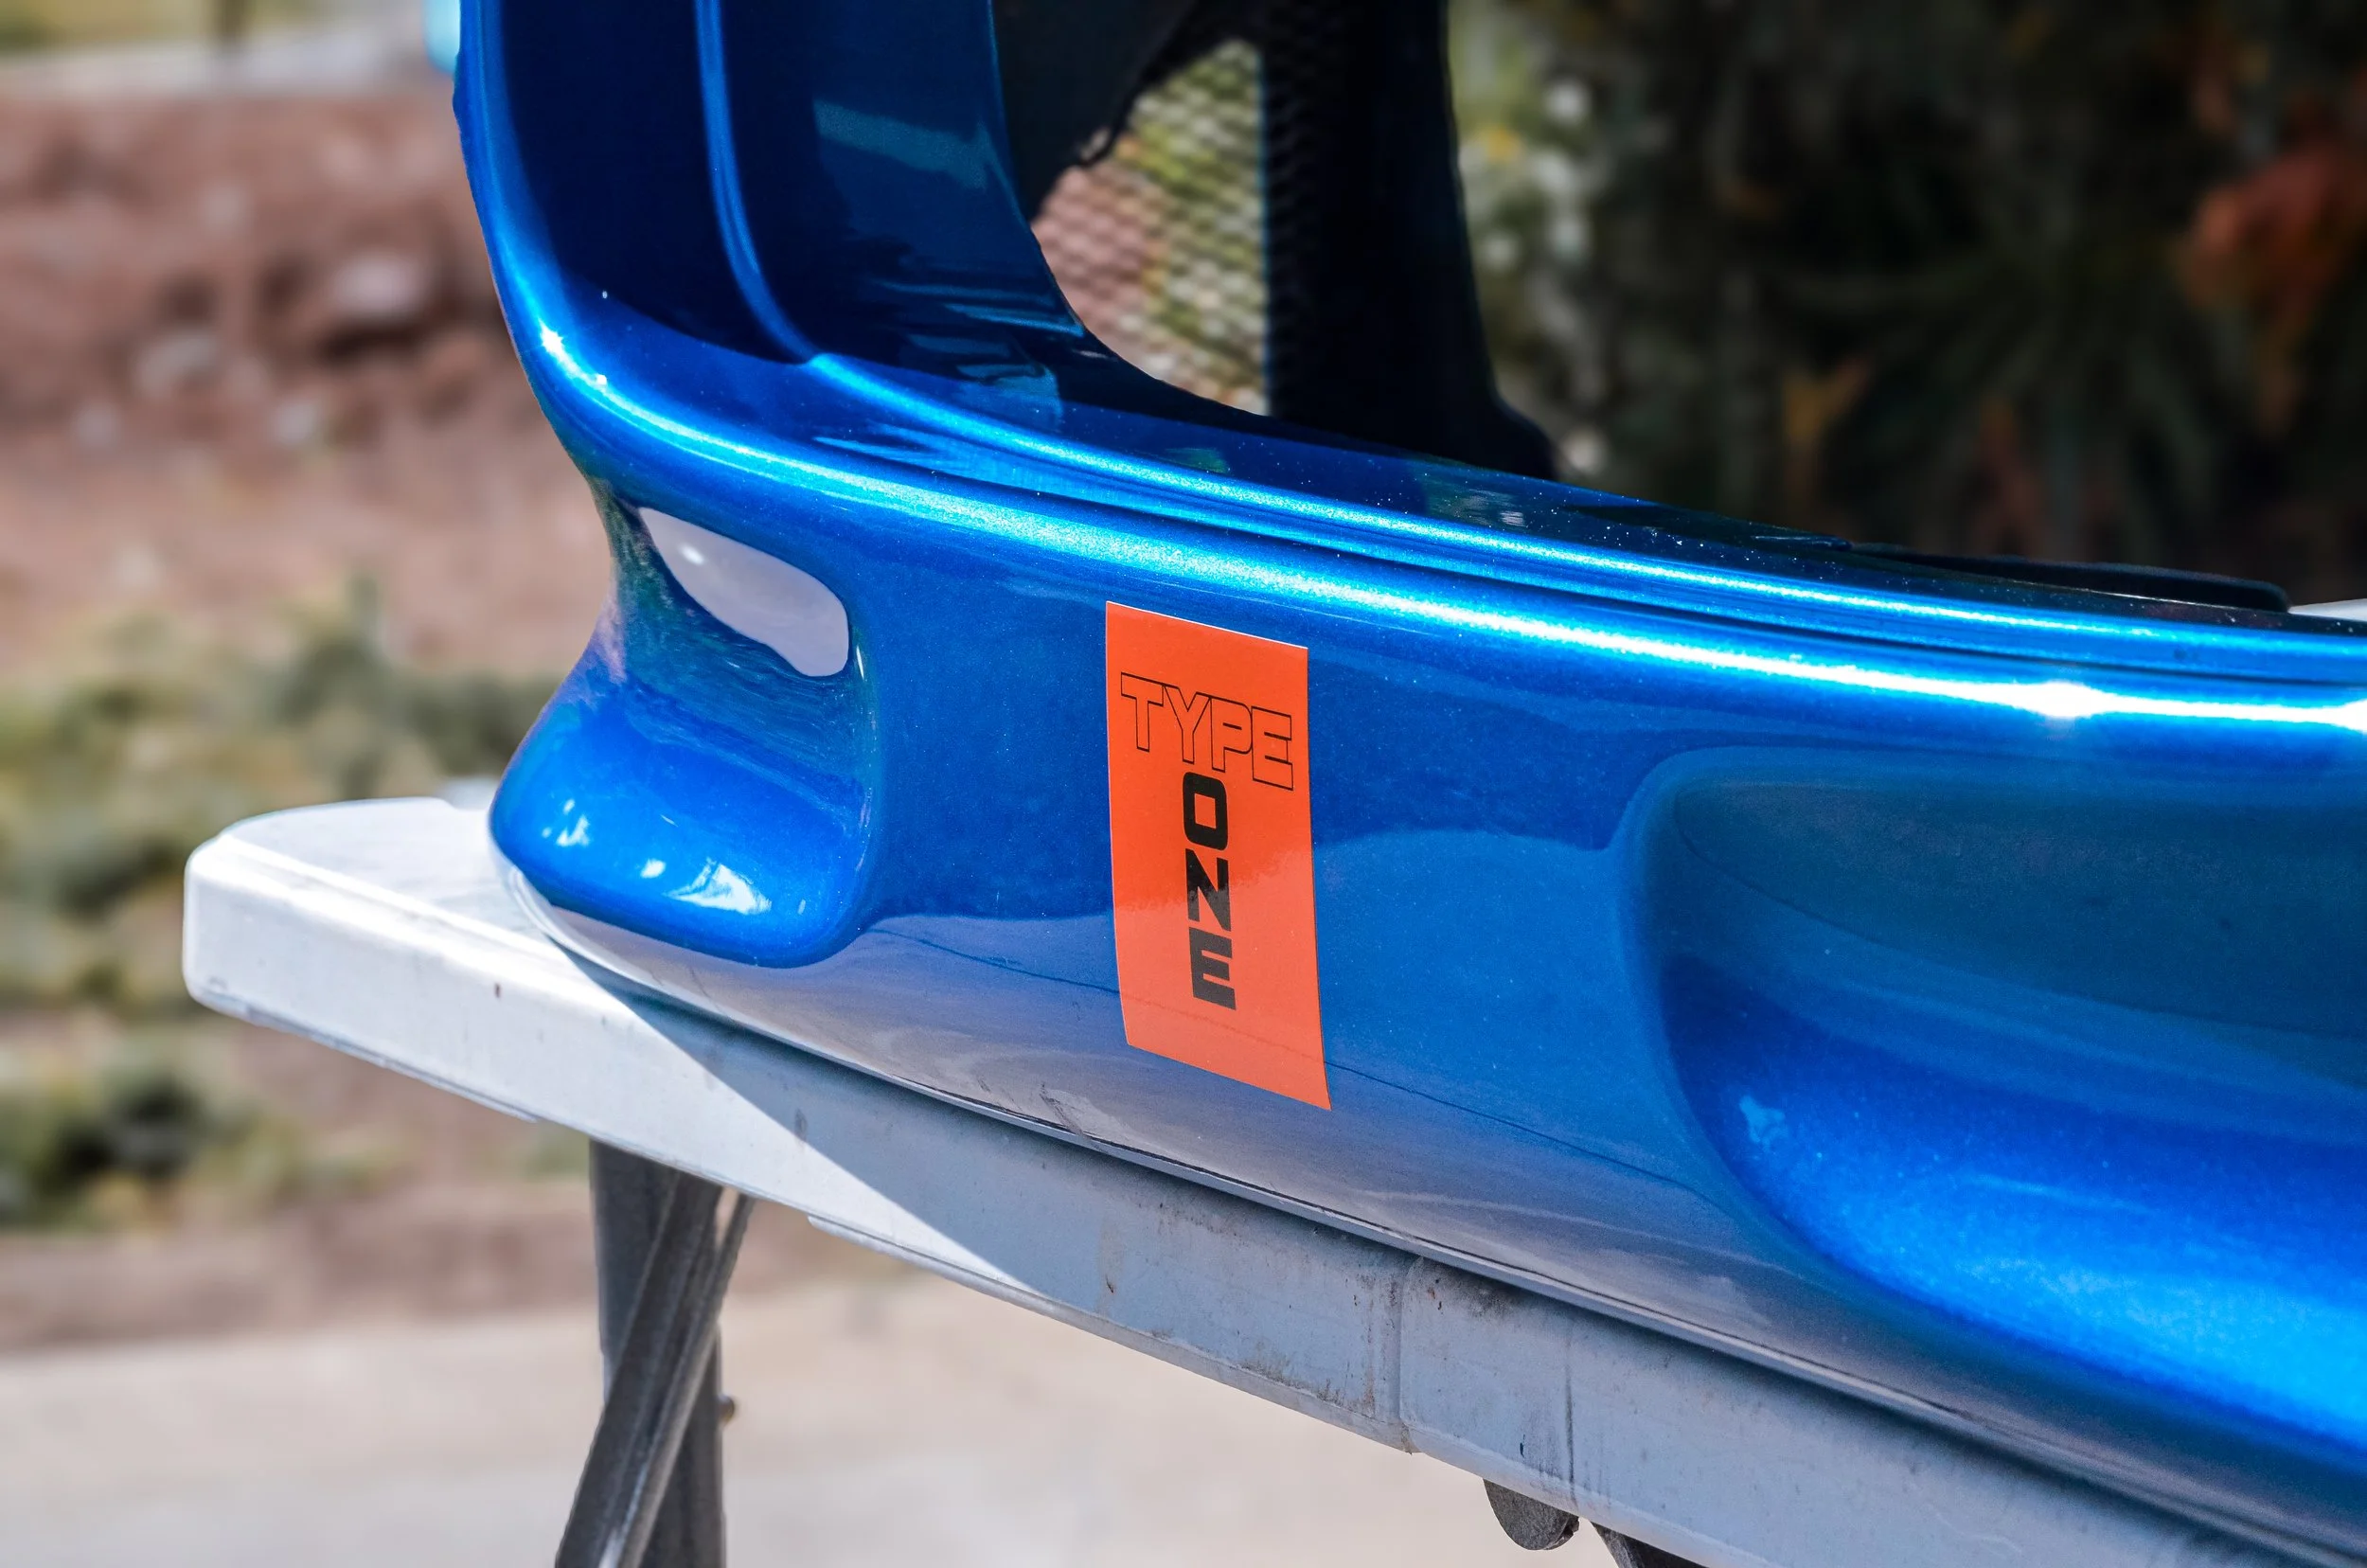
After I purchased the bumper, the orange Type One decal was much needed. It just feels right at home to see the it stuck up front and right on the middle-bottom section of the bumper. Costed me about $10 dollars for one; the last time I purchased it from ICB Motorsport.
In today’s market, there are multiple vendors remolding/replicating parts. The Spoon Sport S-Tai bumper is one of those items and has been replicated by a few vendors, although it is not discontinued. The authentic bumper costs a bit over $2,000. A replica will be about half that price and looks extremely identical to the real one. So, if you ever want to know how to differentiate the two, the only way to identify which is authentic or replicated is the serial number located right behind the forehead of the bumper. Spoon Sport stamped their logo onto it alongside a serial number in which I believe indicates the batch number of the bumper. Upon getting the bumper repainted to my color, I ensured my painter to not paint over the stamp and serial number. LOL!
If you don’t know, hopefully you remember that the Spoon Sport S-Tai bumper is probably the shortest and most stump-iest aftermarket bumper available for the S2000. If you ever have an opportunity to compare it to its peers, the Voltex Racing and even OEM bumper is sharper and slightly longer. Anyway, the bumper does hug onto the headlights and the hood quite well. Minor gaps and subtle protrusion in certain areas, but still very clean and tight around the edges. The gaps are not visible or recognizable to the eyes, unless you actually take your time to analyze and observe the bumper. The current fenders I have on are not stock, they are DownForce fenders that offers an extra 30mm clearance. That would explain the gaps around the headlights. If you further study the bumper, aside from how beautiful it sits up front, you’ll probably identify the loose unzip-tied wires right in the middle. However, just next to it, you probably spy a “black” custom bracket I fabricated myself to further mount the bumper onto the chassis of the car. The bracket mounts onto to the chassis and then drops down to the under carriage carbon fiber plate attached to the bumper. I had to drill a hole on each side just so I can mount the brackets securely for extra security. In total, 2 custom brackets, the bolts on the radiator support and bumper tabs is what currently holds the bumper intact to the S2000.
The bumper contours around the hood well. The hood and bumper still fits like an OEM part as if it was almost made for the car from factory.
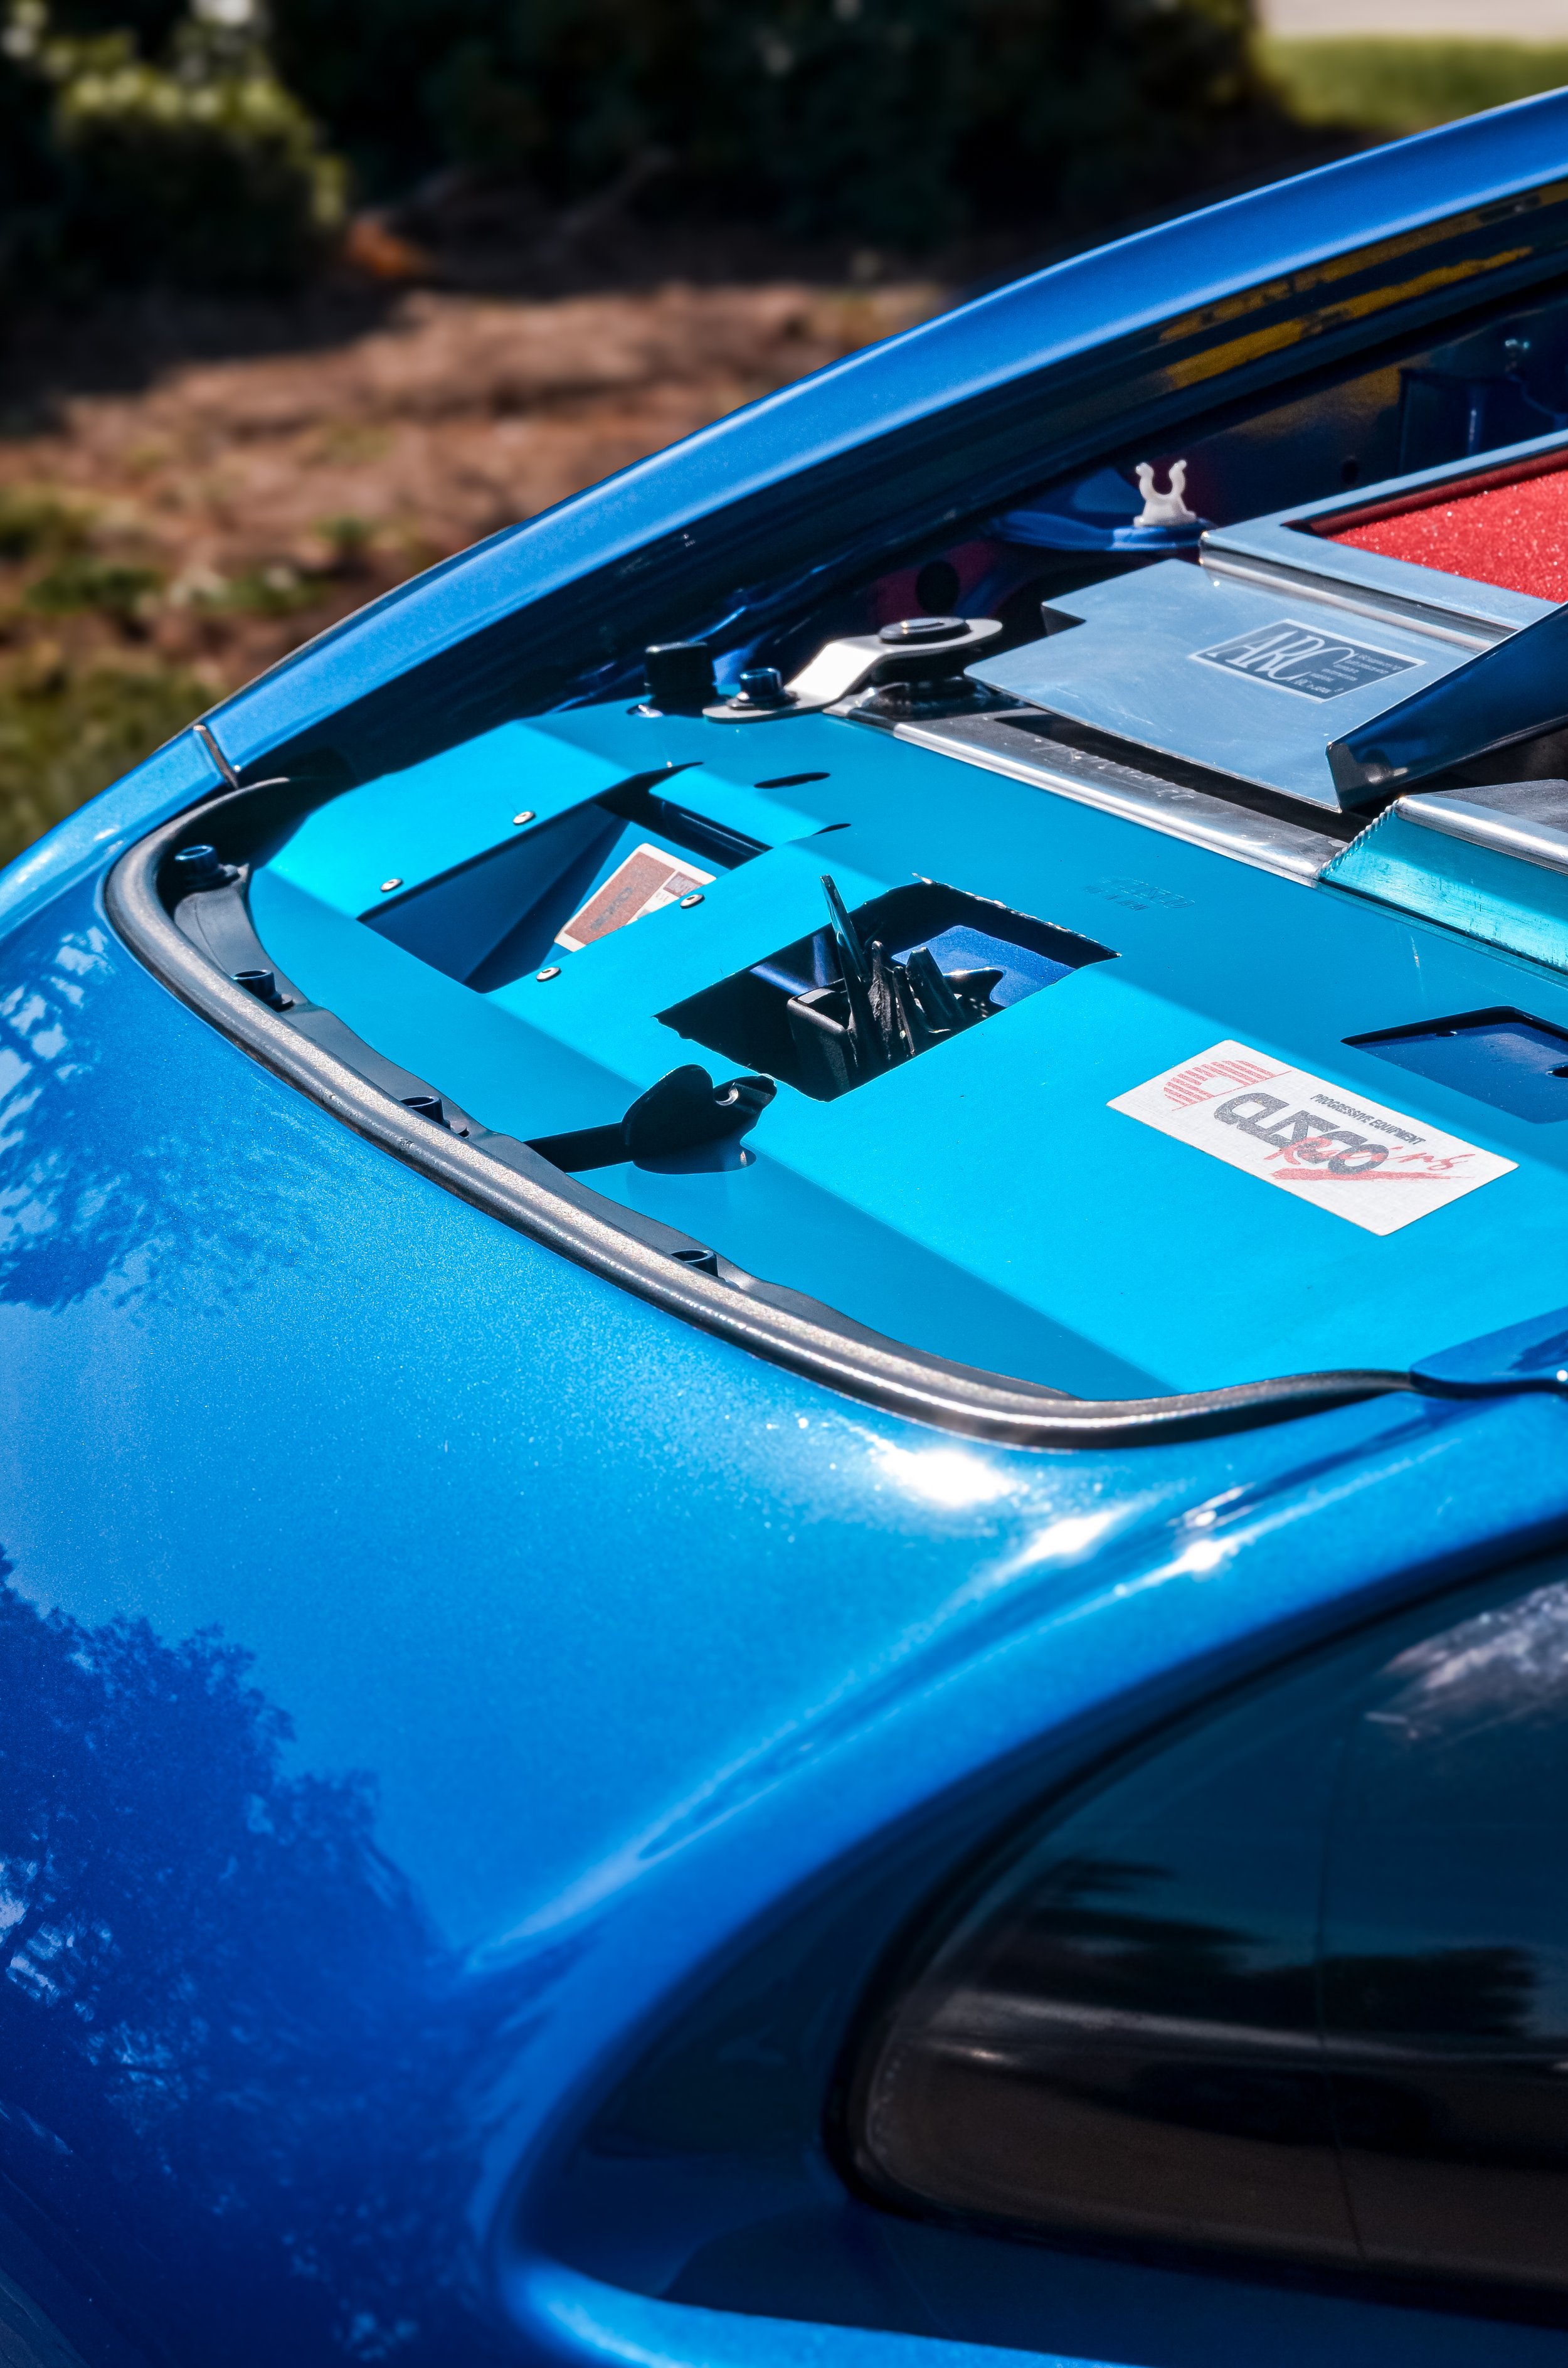
Upon propping the hood up, you can clearly perceive the mounting areas lines up to the radiator support. Please be advised that I do have a cooling plate that can possible help play a better fitment to the bumper. Take that into consideration when you do decide to buy the same bumper in the future. I wouldn’t want you to run into any fitment issues.
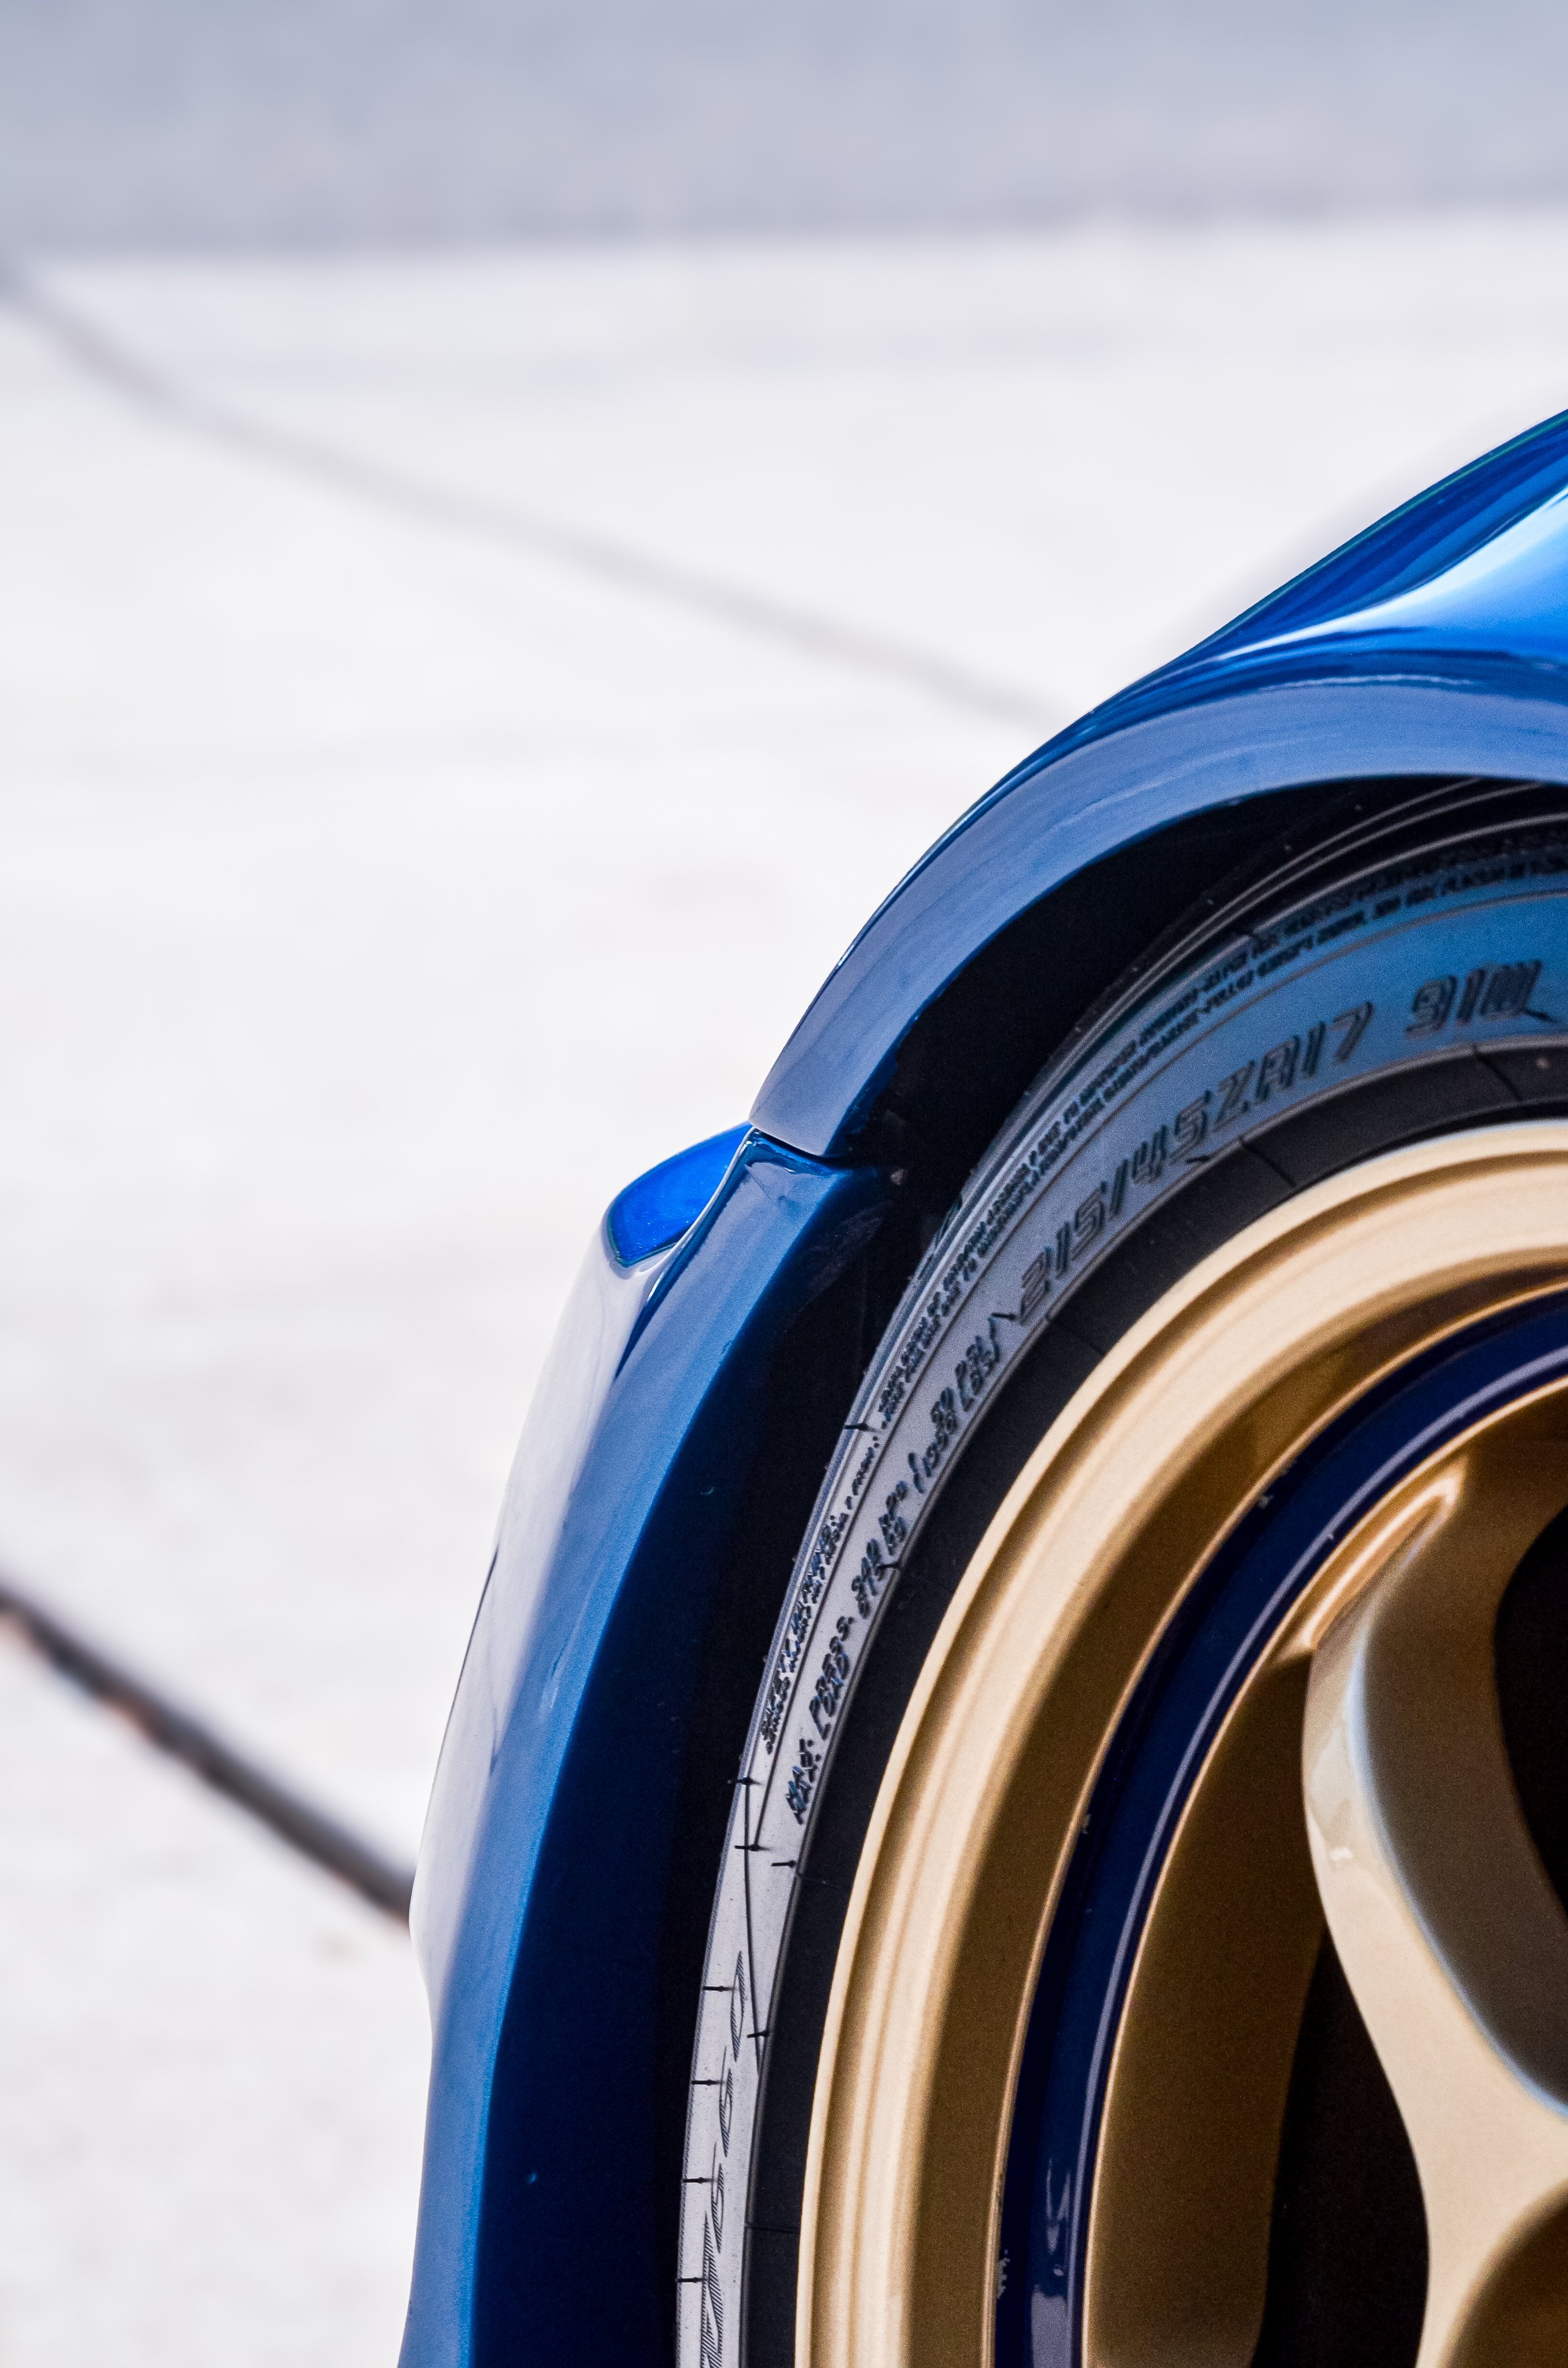
The bumper tabs sync up well. You can easily reuse OEM hardware to bolt the tabs to the fenders. There are minimal gaps from the fender and bumper, but it is nothing too noticeable. The edges connect and come into contact and does not give any abnormal body lines.
Here, you can see very little gap right at the edge of the mounting areas. Since the bumper is fiber glass and already molded the way it is, some gaps just can’t be avoided. I am satisfied with it, though!
Food for thought, fiberglass will always have some sort of fitment issue. Be prepare to spend a sh!t load of money on aero parts to only find out they don’t fit well, and then spend an extra sh!t load to get it properly fixed and dialed in to the body lines of your car.
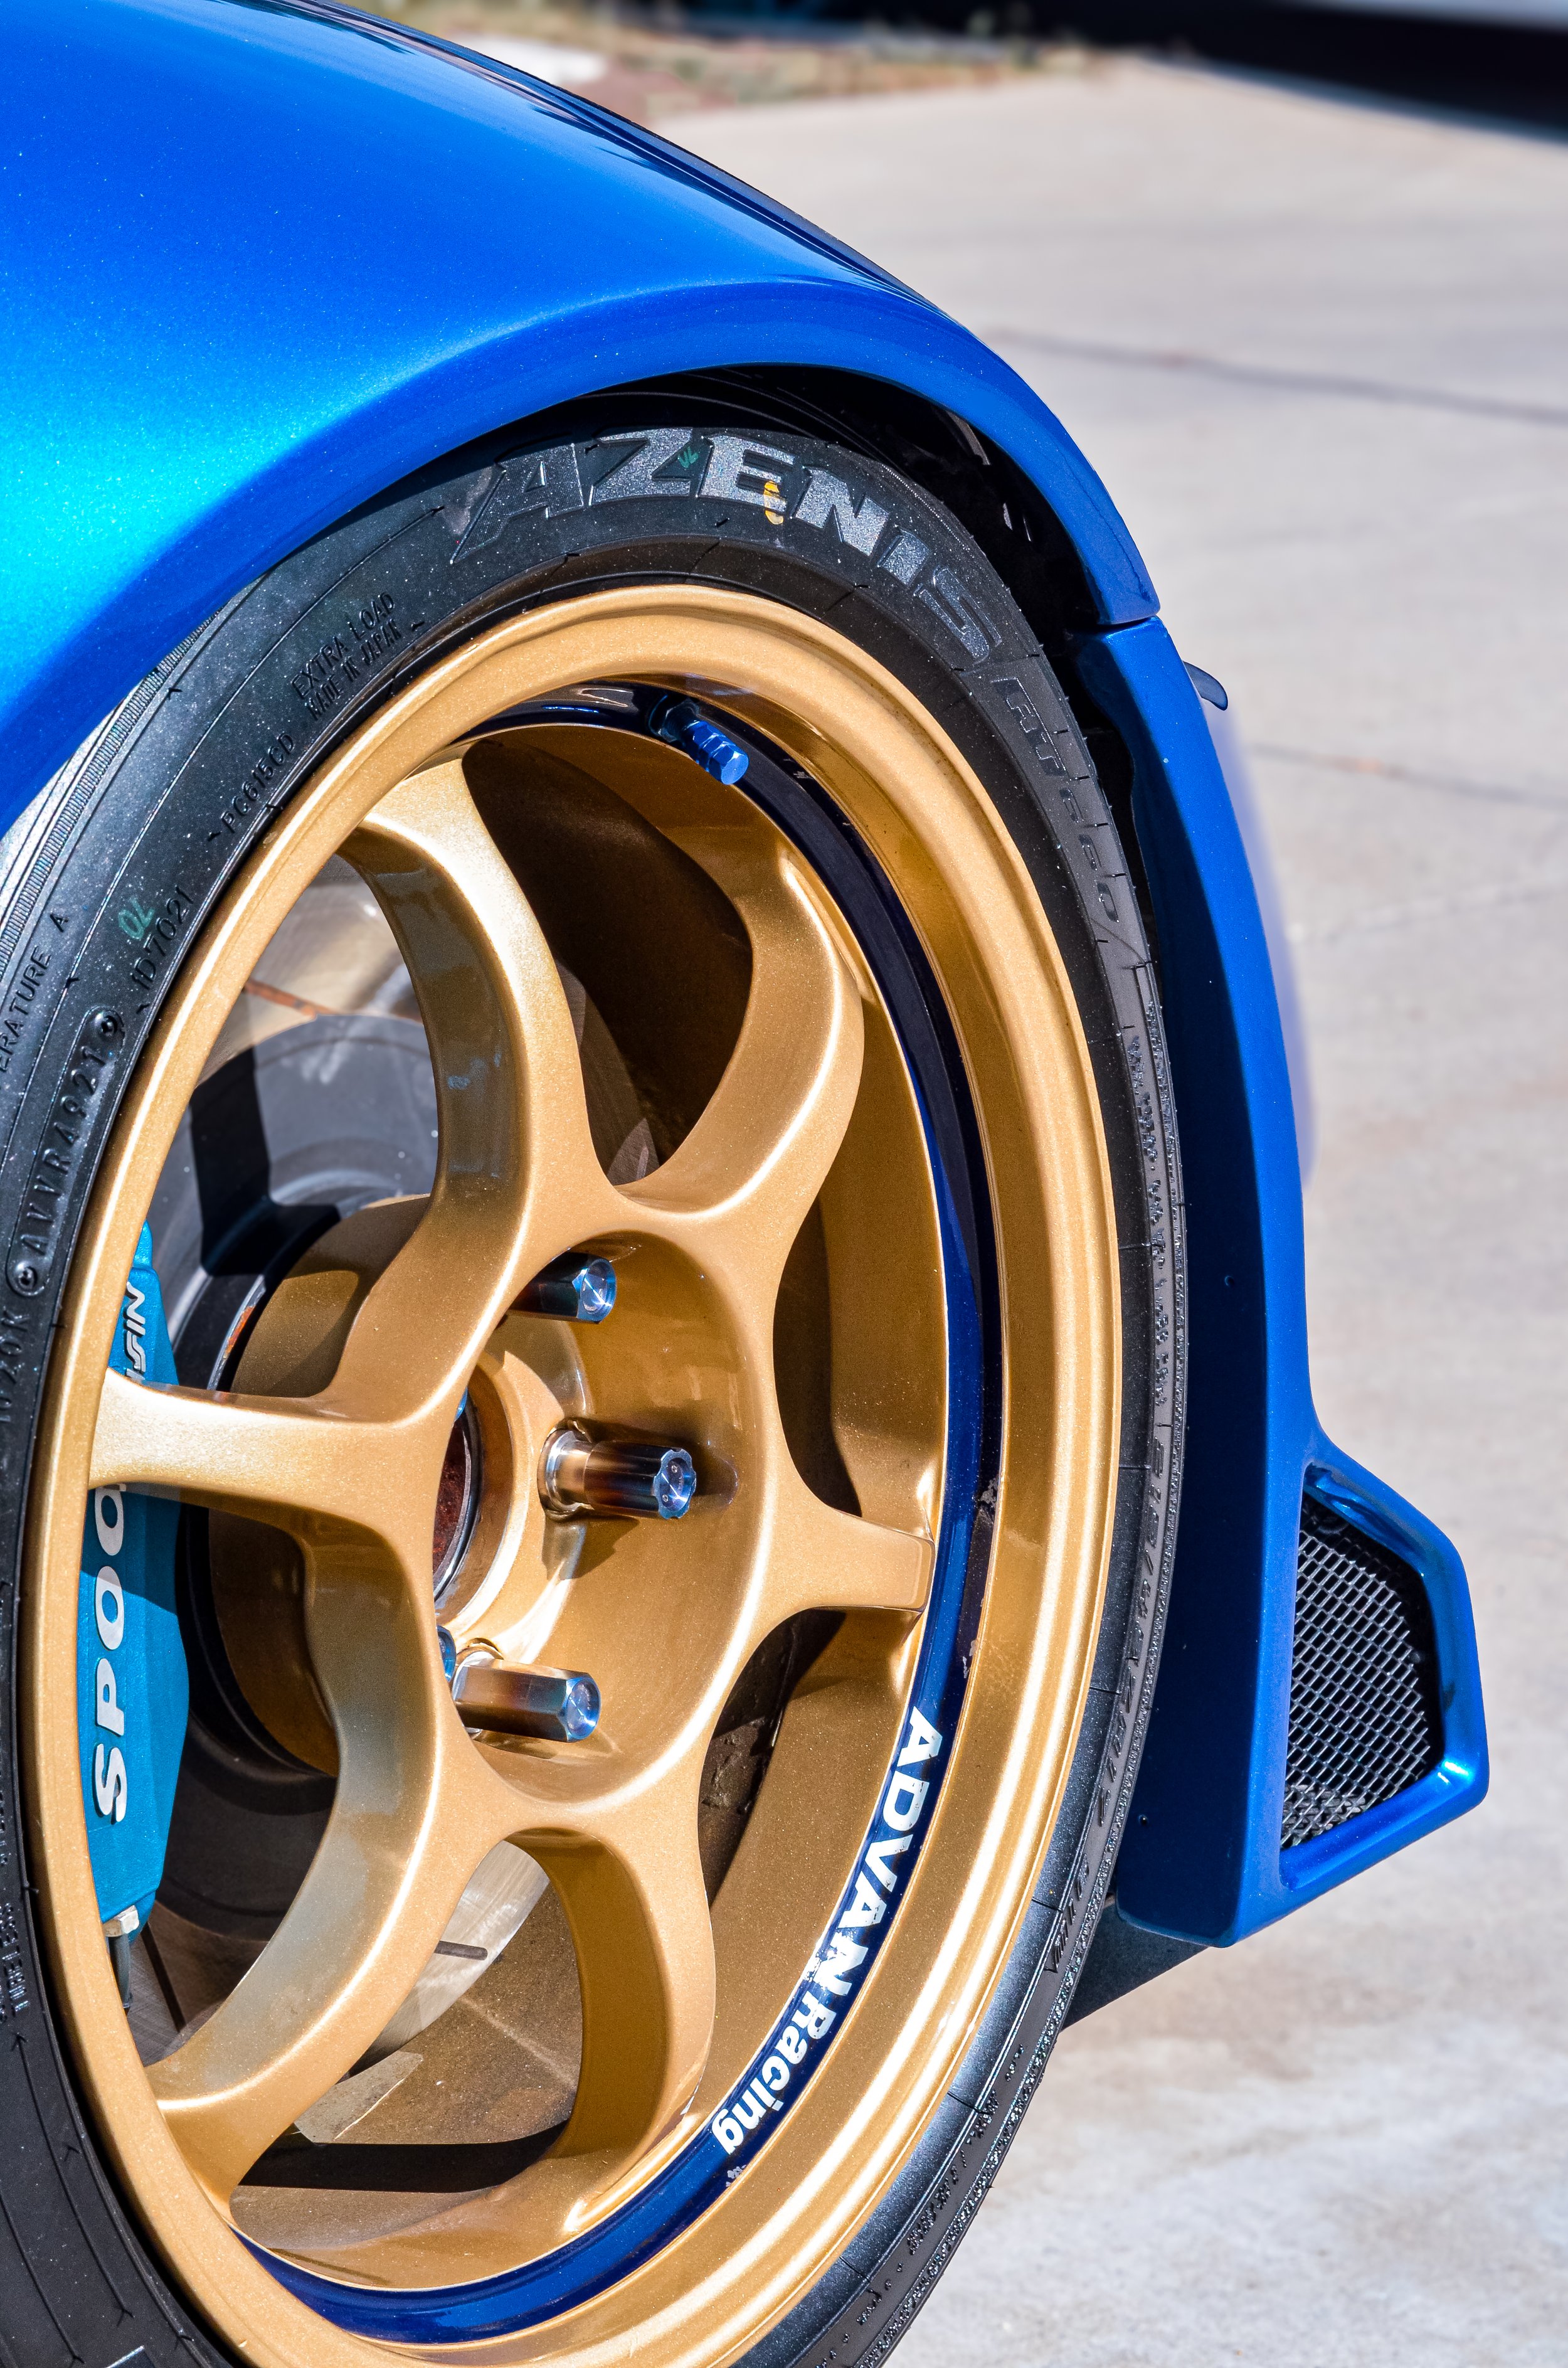
I coudln’t help myself but also capture a picture of the Advan Racing RG1s behind the bumper. It just looks classic with this set up! HELLO, early 2000’s! When its locked up by some titanium burnt Chasing J’s lug nuts and housing a Spoon Sport Monoblock inside the wheel barrel, it’s my cup of tea!
Thank you for reading the first “Xplicit” blog series on here! I have always wanted to write and blog, but just couldn’t find a time to actually share what I have learned from modding the S2000 throughout my years of being a part of the JDM car culture. I am thankful for the people I have meant and become life long friends and family with.
Please stay tuned as I will post up a weekly blog offering “Xplicit” reviews and my honest thoughts about the various JDM parts I've collected over the years! I can’t wait to share what I have experienced with you all!


